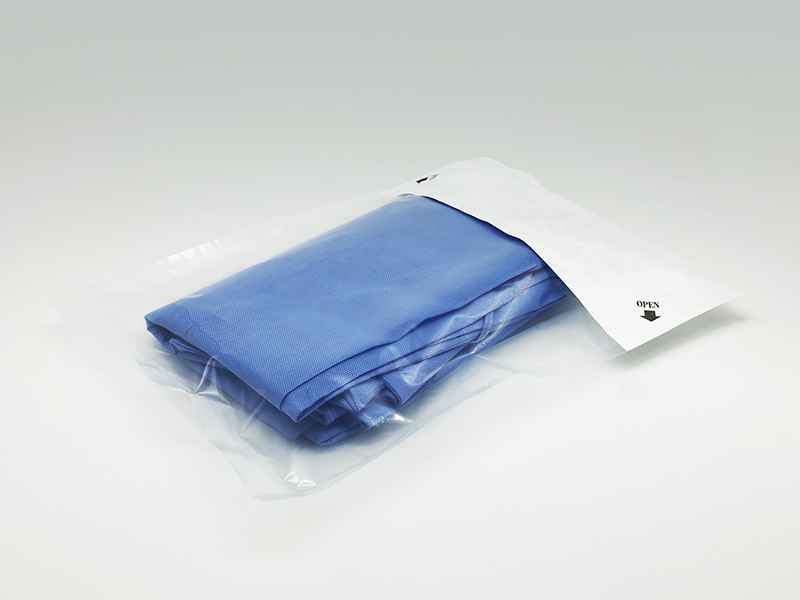
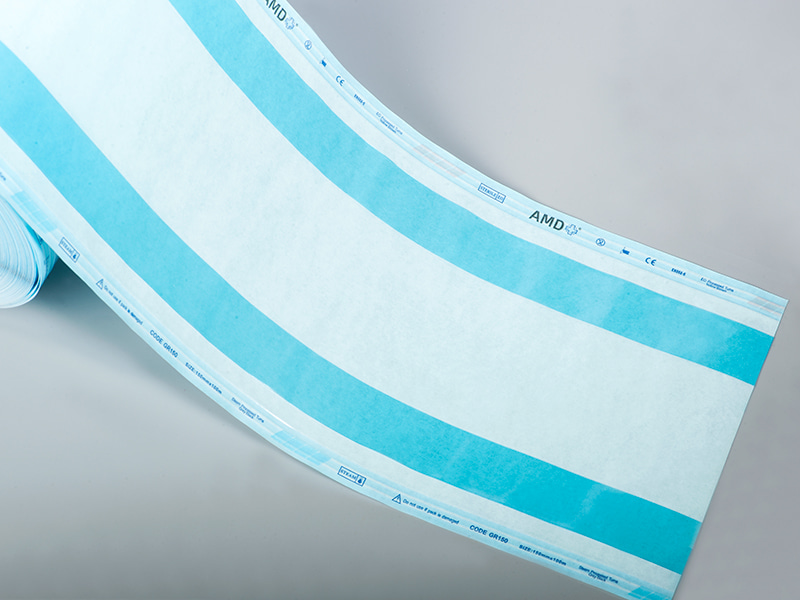
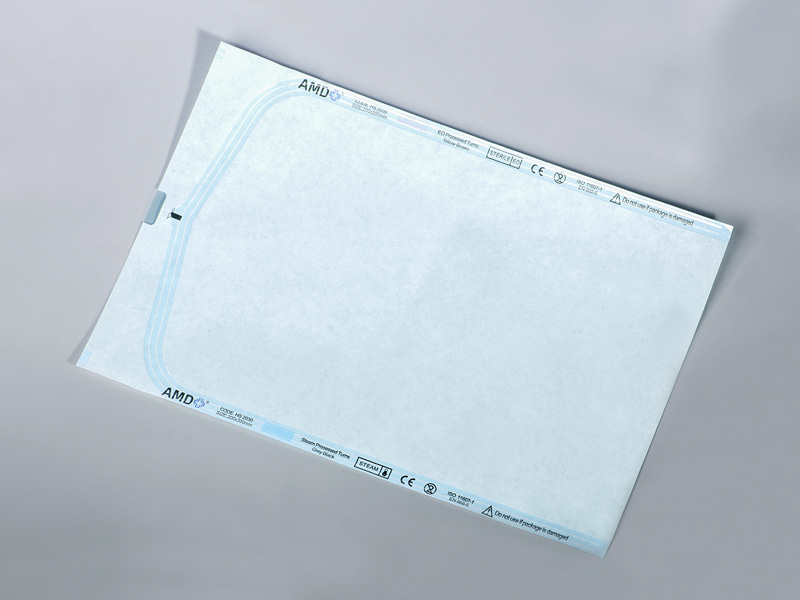
Self-sealing sterilization bags are the core components of medical device packaging. The products are designed with multiple materials and processes to ensure the sterility of the devices during sterilization, storage, transportation and before use. The following are the key mechanisms to ensure the sterile barrier:
Content
1. Material-level protection design
Composite film structure
Outer layer: high-strength polyester (PET) or polypropylene (PP) provides mechanical protection, tear resistance (tensile strength ≥ 50N/15mm) and puncture resistance.
Bacteria barrier layer: medical-grade Tyvek® or high-density polyethylene (HDPE) film, pores ≤ 0.2μm, can block bacteria/viruses but allow sterilizing agents (such as ethylene oxide, steam) to penetrate.
Inner layer: antistatic polyethylene (PE) prevents device adhesion and withstands high temperature (121℃ steam sterilization) or low temperature (-40℃ storage).
Sealing performance verification
The heat seal strength must pass the ASTM F88 standard test (seal strength ≥ 1.5N/15mm) to ensure no micro-leakage.
2. Key Measures for Sterilization Compatibility
|
Sterilization method |
Bag material adaptability |
Key points of protection |
|
Steam sterilization |
High temperature resistant film (such as PP/PE composite) |
Avoid condensation water accumulation and reserve a breathable area |
|
Ethylene oxide (EO) |
Breathable Tyvek® window (air permeability ≥30g/m²/24h) |
Ensure EO residue <25ppm (ISO 10993-7) |
|
Gamma irradiation |
Irradiation-resistant materials (such as PET/PE) |
Prevent material embrittlement (dose ≤50kGy) |
3. Sterility assurance during use
Opening control
The tear-off design (such as the V-shaped notch) ensures that medical staff can open it with one hand without contamination and avoid contact with the inner layer.
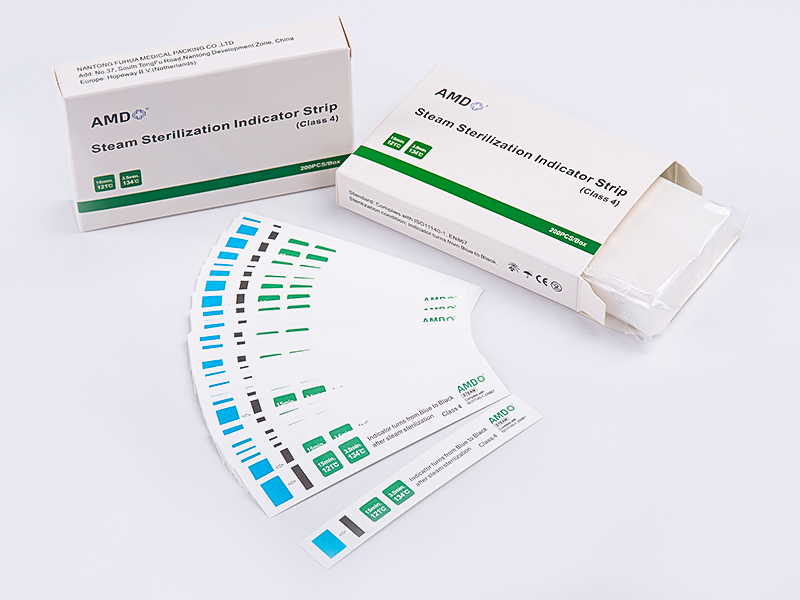
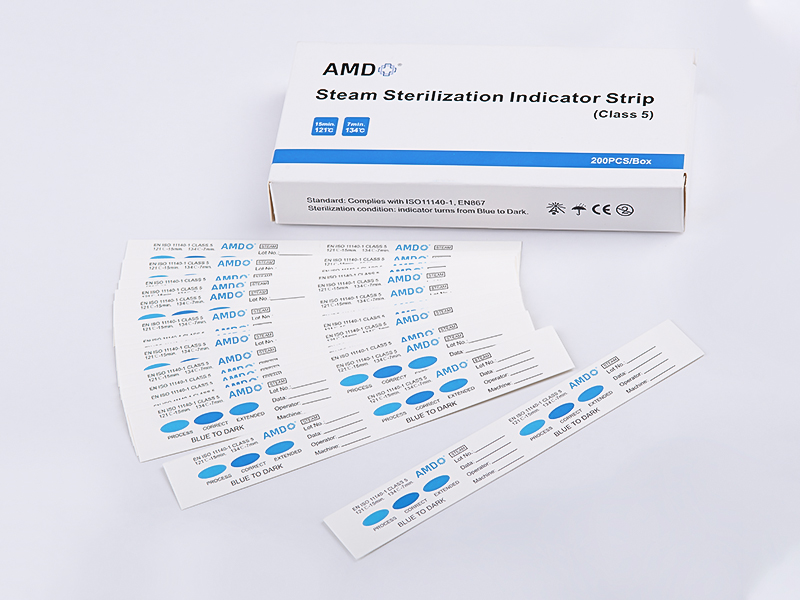
The dye indicator (such as the steam-sensitive stripe) visually shows whether the sterilization is complete.
Physical barrier test
Microbial challenge test certified by ISO 11607-1: The package must block 10⁶ CFU of Bacillus subtilis black variant (ATCC 9372) after sterilization.
Accelerated aging test (ASTM F1980): The seal is maintained after simulating 3 years of storage.
4.Precautions when using self-sealing sterilization bags
Choose the right sterilization bag
Material adaptation:
Steam sterilization (121℃): Choose high temperature resistant materials (such as PP/PE composite film).
Ethylene oxide (EO) sterilization: Tyvek® breathable window is required (air permeability ≥30g/m²/24h).
Gamma irradiation: Use radiation-resistant materials (such as PET/PE) to avoid embrittlement.
Size matching:
The instrument volume is ≤70% of the sterilization bag capacity to avoid excessive squeezing that affects the sealing.
Long instruments (such as orthopedic tools) require extended sterilization bags.
Correct packaging operation
Packaging steps:
Check the cleanliness of the instrument: Make sure there is no residual blood or stains (otherwise the risk of sterilization failure ↑50%).
Place the indicator card: Put a chemical indicator card (such as 3M 1243) in the bag and affix a sterilization label on the outside of the bag.
Heat sealing:
The recommended temperature of the sealing machine is 120-180℃ (adjusted according to the material).
Sealing width ≥6mm, pressure ≥0.3MPa, ensure no wrinkles or air leakage.
Prohibited behavior:
Reuse opened sterilization bags.
Press and seal by hand (professional heat sealer required).
Storage and transportation requirements
Storage conditions:
Temperature 15-25℃, humidity 30-60%, away from direct ultraviolet rays.
Stacking height ≤5 layers to avoid cracking of the seal under pressure.
Transportation protection:
Use shockproof packaging boxes to prevent sharp objects from piercing the sterilization bag.
When transporting at low temperature (<0℃), antifreeze materials are required.
Inspection before use
Confirmation before opening:
Check whether the sterilization bag is intact (no damage, no cracking of the seal).
Check the sterilization label (expiration date, batch number).
Opening operation:
Tear along the easy tear (V-shaped notch or tear strip) at one time to avoid contamination of the inner layer.
If the instrument is found to be damp or odorous, stop using it immediately and report it.
Common Problems and Solutions
|
Problem |
Possible cause |
Solution |
|
Seal cracked after sterilization |
Insufficient heat sealing temperature or uneven pressure |
Calibrate sealing machine parameters and replace sealing strips |
|
Condensate in the bag |
Instrument not completely dried or sterilization procedure error |
Pre-dry instrument and adjust sterilization parameters |
|
Chemical indicator does not meet the standard |
Sterilizer penetration failure |
Check if the ventilation window is blocked |

 English
 Français
 Deutsch
 Nederlands






 ‘s-Gravenweg 542, 3065SG RotterdamThe Netherlands
 +31 (0)10 254 28 08
